Email format error
Email cannot be empty
Email already exists
6-20 characters(letters plus numbers only)
The password is inconsistent
Email format error
Email cannot be empty
Email does not exist
6-20 characters(letters plus numbers only)
The password is inconsistent


In the realm of home renovation and interior design, finding the perfect flooring material is often a daunting task. Yet, self-adhesive vinyl wood plank flooring has emerged as a game-changer for both DIY enthusiasts and professional contractors. This innovative flooring option not only offers the aesthetic appeal of real wood but also combines ease of installation and affordability, making it a top choice for many homeowners. Let’s dive deep into the world of self-adhesive vinyl wood plank flooring, exploring its benefits, sourcing tips, and installation guide.
1. Aesthetic Appeal: Self-adhesive vinyl wood planks mimic the natural look and texture of hardwood flooring. Available in various shades and finishes, they can replicate the appearance of oak, maple, cherry, and more, providing a high-end look without the high-end cost.
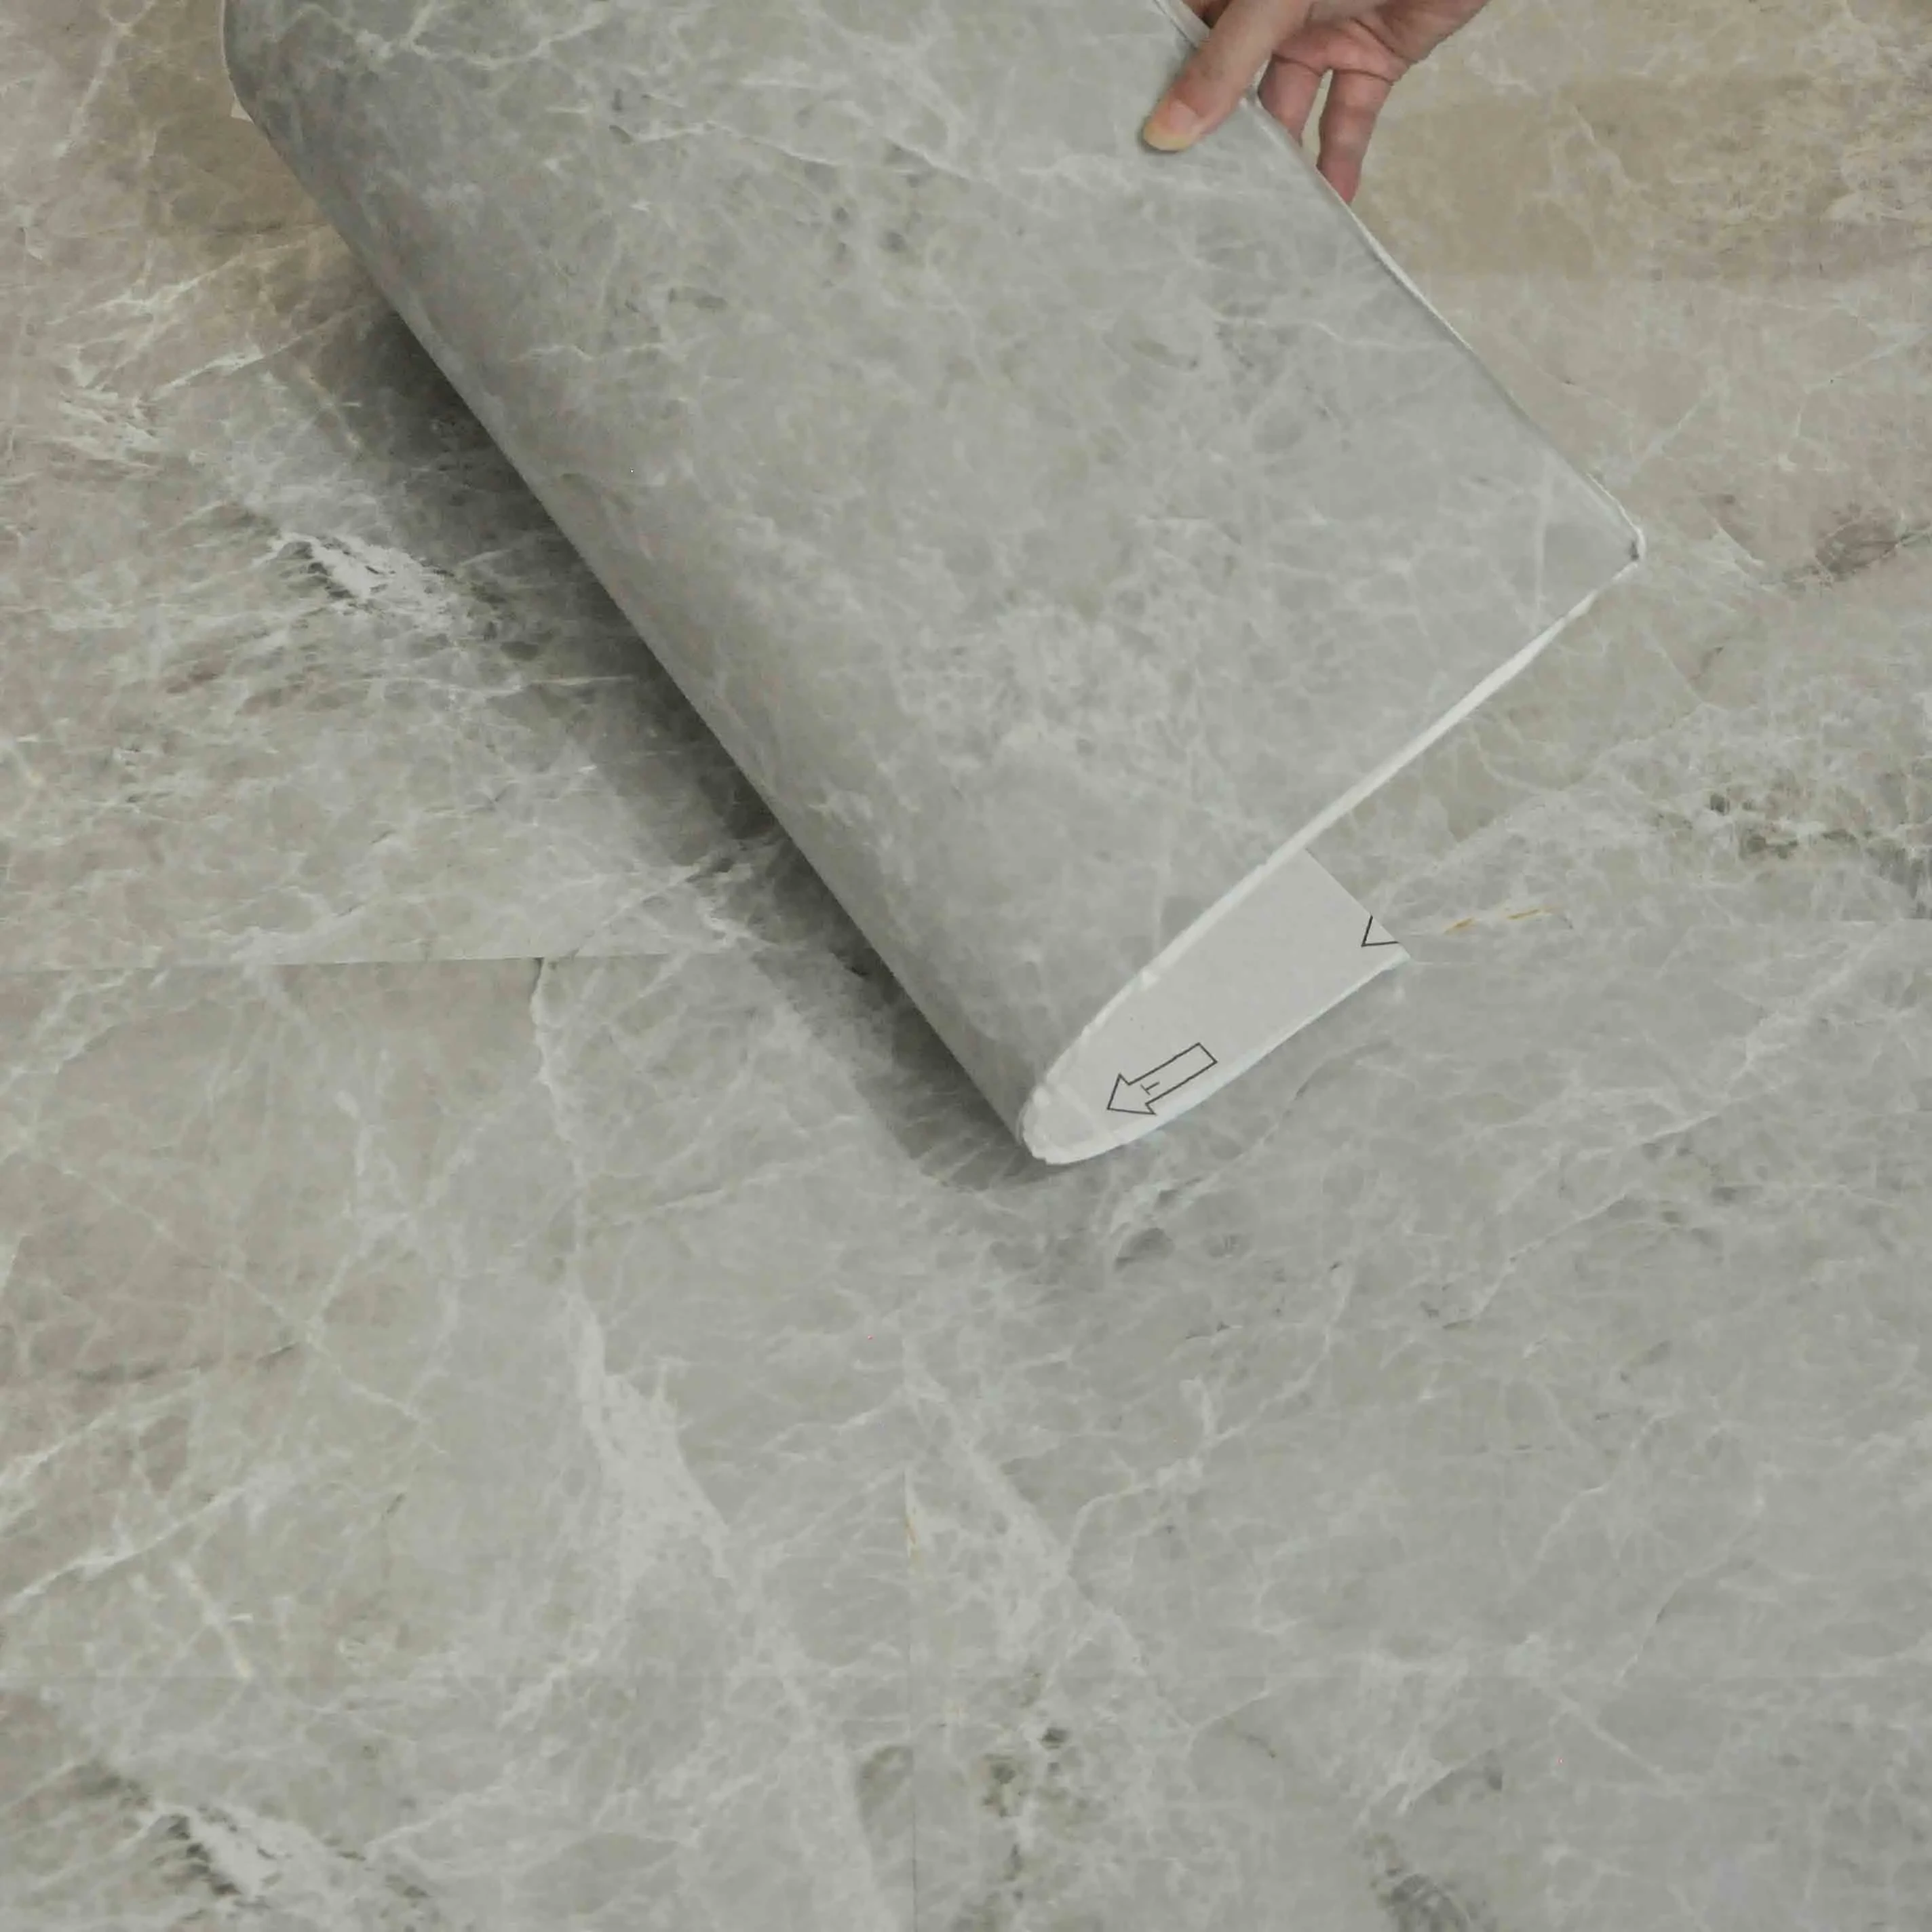
2. Easy Installation: One of the most significant advantages is the ease of installation. Unlike traditional wood planks that require nails or glue, self-adhesive vinyl planks come with a peel-and-stick backing. This feature allows even those with minimal DIY experience to achieve professional results.
3. Durability and Maintenance: These planks are designed to withstand heavy foot traffic, moisture, and everyday wear and tear. They are easy to clean and maintain, making them ideal for kitchens, bathrooms, and basements.
4. Cost-Effective: Compared to traditional hardwood floors, self-adhesive vinyl wood planks are much more affordable. They offer a cost-effective solution for those looking to upgrade their flooring without breaking the bank.
When sourcing self-adhesive vinyl wood plank flooring, there are several factors to consider to ensure you get the best-quality product at the best price.
1. Reputable Suppliers: Start by identifying reputable suppliers. Online platforms like Amazon, Home Depot, and Lowe’s offer a wide range of options. Additionally, specialty flooring stores often carry high-quality products and can provide expert advice.
2. Quality Over Price: While it might be tempting to go for the cheapest option, quality should never be compromised. Look for products that offer a good balance between cost and quality. Read reviews and ask for samples before making a bulk purchase.
3. Environmental Considerations: Some self-adhesive vinyl planks are more eco-friendly than others. Look for products that are free from harmful chemicals and have low VOC (volatile organic compounds) emissions.
4. Customization Options: Many suppliers offer customization options. If you have a specific color or texture in mind, check if the supplier can accommodate custom orders.
5. Shipping and Returns: Consider the shipping policies and return options. Flooring is a significant investment, and you want to ensure that you can return or exchange products if they don’t meet your expectations.

Once you’ve sourced your self-adhesive vinyl wood plank flooring, the next step is installation. Here’s a step-by-step guide to help you through the process:
1. Preparation:
Acclimatize the Planks: Allow the planks to acclimate to the room temperature for at least 48 hours before installation.
Clean the Subfloor: Ensure the subfloor is clean, dry, and free from any debris. Any imperfections can affect the adhesion of the planks.
2. Planning:
Measure the Room: Measure the room to determine the number of planks needed. Plan the layout to avoid having very narrow planks at the edges.
Mark Guidelines: Use a chalk line to mark guidelines on the subfloor to ensure straight installation.
3. Installation:
Start from the Center: For the best visual effect, start installing the planks from the center of the room. Peel off the backing and press the plank firmly onto the subfloor.
Align Edges: Make sure the edges of each plank are tightly aligned to avoid gaps.
Cutting Planks: Use a utility knife to cut planks to fit around edges and corners. Ensure the cuts are straight for a professional finish.
4. Finishing Touches:
Roll the Floor: Use a floor roller to press the planks firmly and ensure proper adhesion.
Trim Excess Material: Trim any excess material around the edges for a clean look.
Add Baseboards: Reinstall baseboards or add new ones to cover the expansion gap around the perimeter of the room.
Maintaining your self-adhesive vinyl wood plank flooring is straightforward:
Regular Cleaning: Sweep or vacuum regularly to remove dirt and debris. Mop with a damp cloth and mild cleaner suitable for vinyl floors.
Avoid Harsh Chemicals: Avoid using abrasive cleaners or harsh chemicals that can damage the surface.
Protect from Furniture: Use furniture pads to prevent scratches from heavy furniture. Consider using area rugs in high-traffic areas.
Self-adhesive vinyl wood plank flooring is a versatile and practical choice for anyone looking to enhance their home’s interior without extensive effort or expense. With its combination of durability, ease of installation, and aesthetic appeal, it’s no wonder this flooring option is gaining popularity.
When sourcing self-adhesive vinyl wood plank flooring, prioritize quality and consider environmental impacts. Follow the installation guide meticulously to achieve a flawless finish. With proper maintenance, your new floor will remain beautiful and functional for years to come.
Embark on your flooring project with confidence, knowing that self-adhesive vinyl wood plank flooring is a smart and stylish investment in your home. Happy renovating!